Software Review
SmartMask 2.0

Developer: AKVIS Software
Price: $120
Requirements: Mac OS X 10.3.9, G4, 512 MB RAM, Adobe Photoshop 6 or later, or any version of Photoshop Elements. Universal.
Trial: Fully-featured (10 days).
At my day job, building masks in Photoshop to isolate a portion of an image is a common occurrence. In spite of reaching what I feel is an intermediate skill level for creating masks with Photoshop’s native tools, I recently began considering various utilities for aiding mask creation. SmartMask is the first mask-building plug-in for Photoshop that I’ve had the opportunity to try.
SmartMask comes in the form of a plug-in with a version for Photoshop CS3 and Photoshop Elements 6 and another for Photoshop 6 through CS2 and Photoshop Elements versions 1 through 4. Other applications that support the Photoshop plug-in architecture may be able to use SmartMask, though AKVIS’ Web page only lists Photoshop and Photoshop Elements for compatibility on the Macintosh.
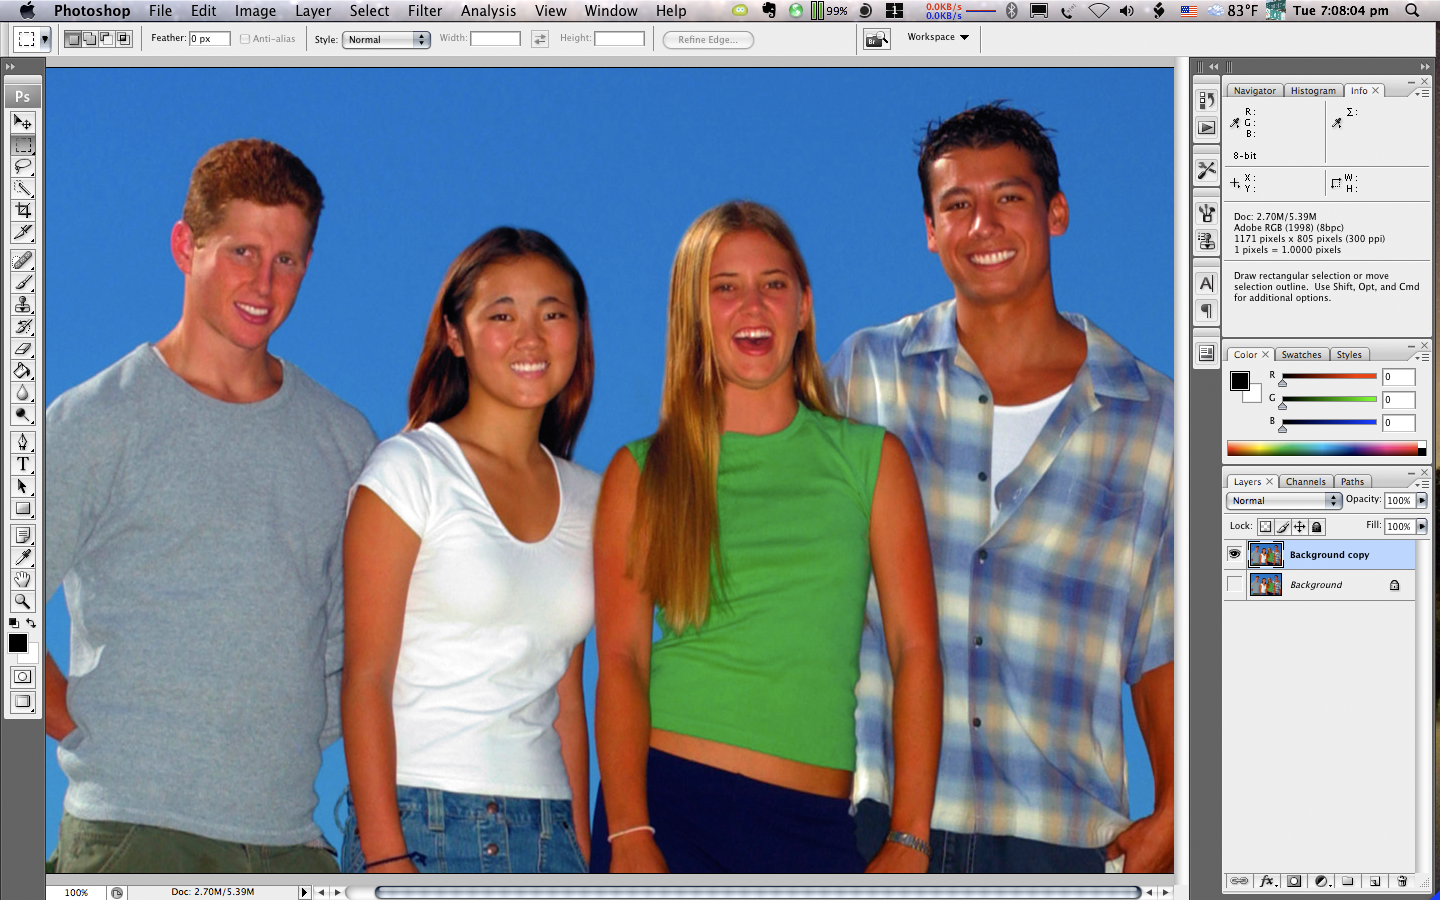
To begin, the layer to be masked must be one that can hold transparent pixels. If the image is on the non-transparent Background layer, either double-click that layer to convert it to a non-background layer or, more advisable, copy the layer to a new one. Then, access the SmartMask plug-in from the Filters ‣ AKVIS menu.

My first trial using SmartMask was with this photo—a very simple background to mask out. (Click to enlarge.)
SmartMask’s User Interface
It’s sorely obvious that SmartMask was not initially designed with the Macintosh user interface in mind. Absolutely nothing feels Mac-like about it. It does not use the unified toolbar common to the proper Macintosh interface, and the button icons scream Windows XP. The adjustment portion on the right side uses scroll sliders which don’t even vaguely resemble Mac scroll bars, and their small size make each end tricky to “grab” with a mouse click.
ATPM’s five-point rating scale comes with guidelines that reviewers such as myself use to choose the best rating for the product being tested. The Okay rating which SmartMask earned from me contains one very specific criteria I found to be the recurring theme: “Sometimes, [the products being reviewed] remind you of Windows.”
Even worse on the interface is that when I initially launched the plug-in and tried to use the resize widget to make the window larger, I found that it couldn’t be made any taller than about 2/3 the height of my 15″ MacBook Pro display. The Maximize widget did not help the situation.
When I used SmartMask for the second time, the plug-in window filled the entire screen. But, when I tried to use the resize widget, the window immediately jumped back to 2/3 the display’s height. Subsequent access to the plug-in returned the window to full screen, and I now just leave it that way.
So, why have I spent four paragraphs (and this one makes five) talking about the user interface without yet even describing the process of actually masking photos? Because a look at the interface is first thing that will take place for any software. If that initial look and feel is an immediate turn-off, it’s going to set a pretty solid tone for the software’s usability.
Starting Mask Creation, Sharp Mode
Upon initial inspection, the process for setting up a mask—in spite of the eye-rolling interface—seemed very compelling.
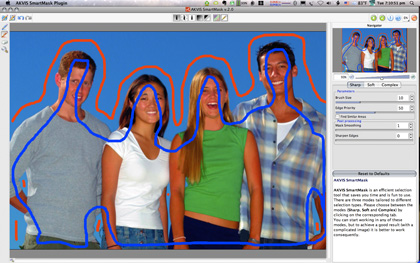
A few pen tool lines to loosely define areas that will be masked are all that’s needed to get started. (Click to enlarge.)
SmartMask works in three modes: Sharp, Soft, and Complex. I was pleased to discover that the plug-in did not lock me into just one mode, forcing me to start over if I decided I needed another for the job. In fact, building a mask with SmartMask should always begin in Sharp mode. I’ll elaborate on this in a moment, but will say now that another hit on the user interface is that nothing visually suggests I should always start with Sharp mode.
To begin, Sharp mode avails two pen tools for the initial steps of defining a mask. The blue pen is used to loosely define an outline of the area to be kept visible. As seen in the above figure, this outline does not have to be anywhere close to perfect. Likewise for the red pen used to define areas that will be masked. What’s important to remember is that the photograph’s colors beneath the respective lines become the guide that SmartMask uses to start building a mask.

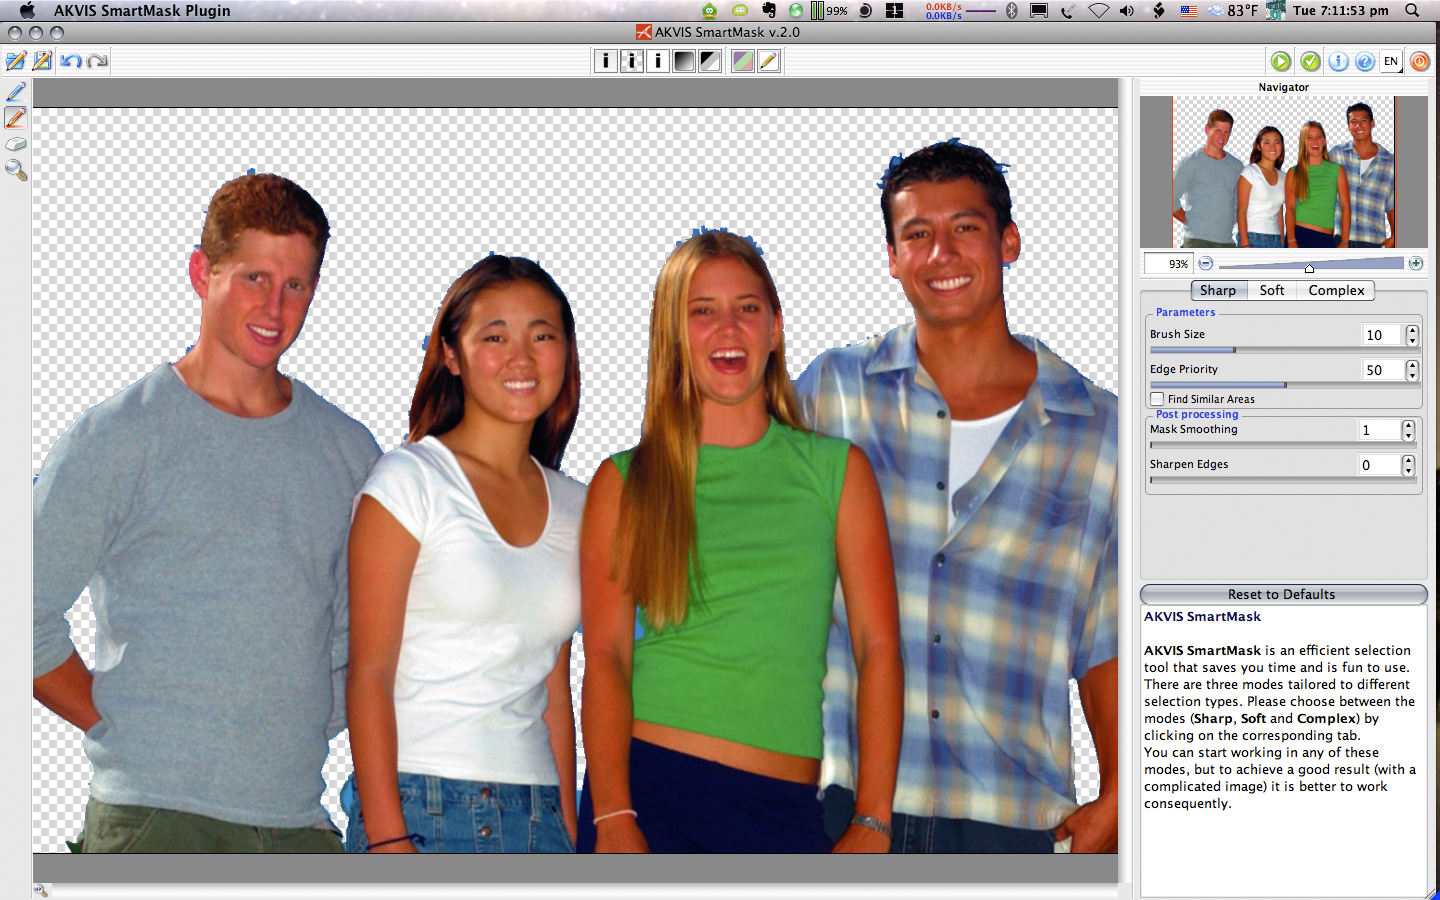
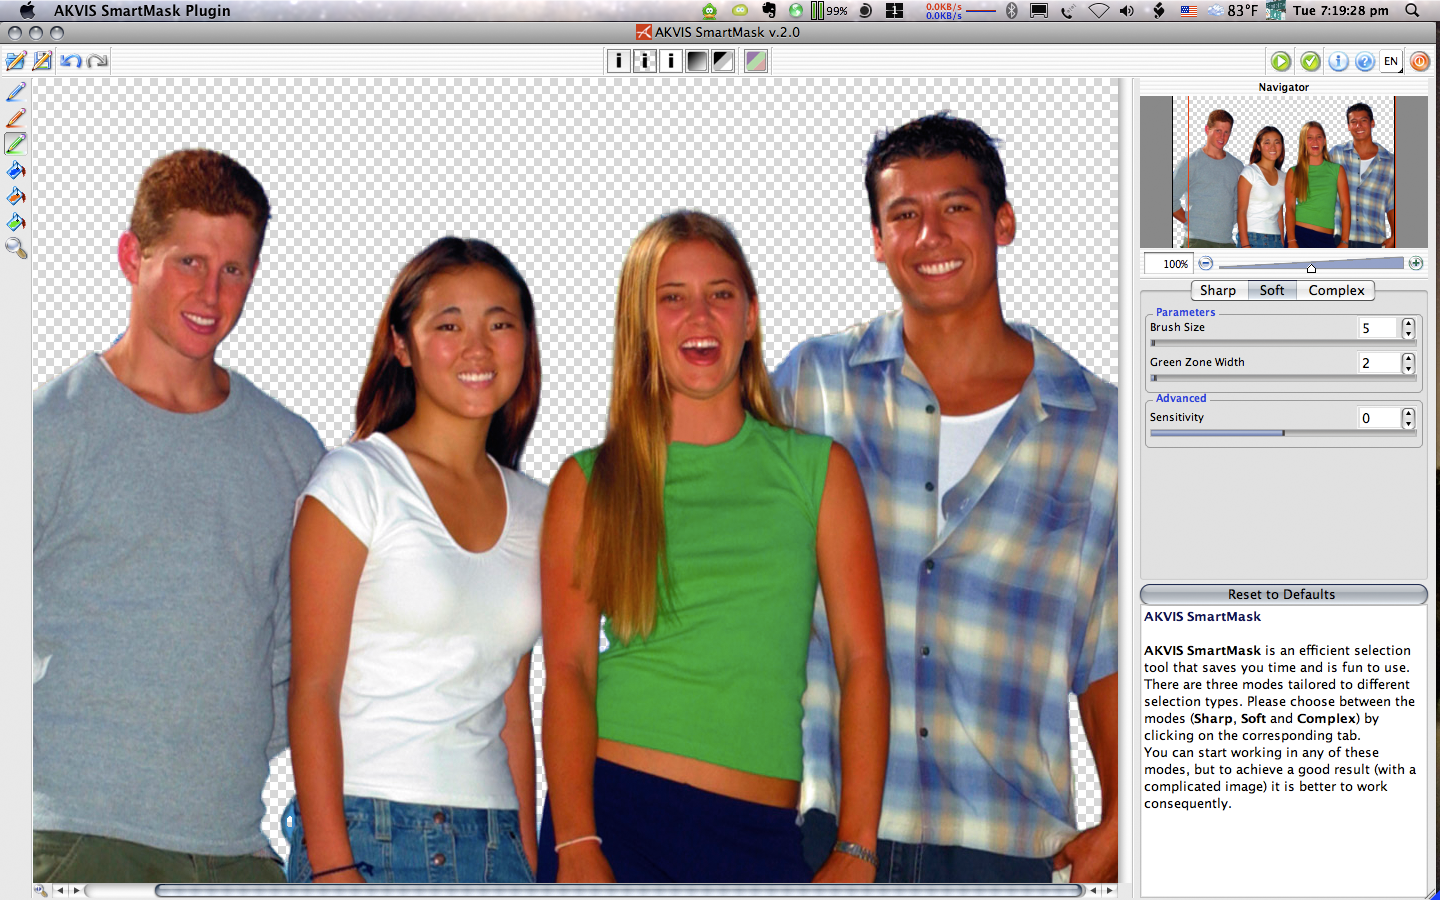
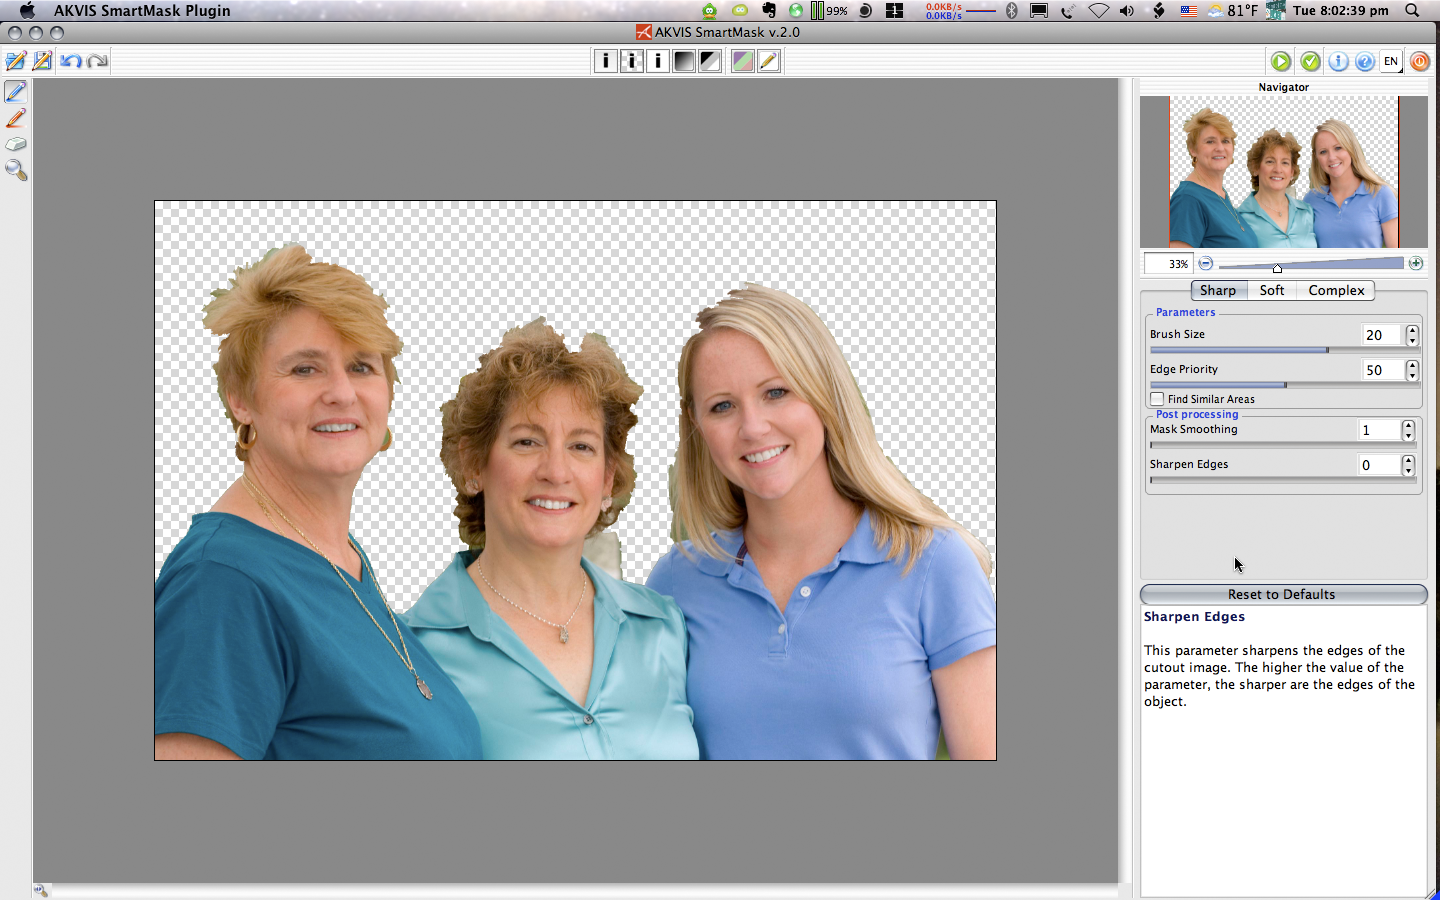
For this photo with a very simple background, the initial result was rather good. (Click to enlarge.)
If all masks built with SmartMask, no matter how complex the background, were this simple to accomplish, I would immediately forgive the poor user interface and rate this software Very Nice. But, remember that this photo already had a flat, near-single-color background. I can pull off essentially the same result just with Photoshop’s Magic Wand or Quick Select tools.
Studying the initial mask result more carefully, I see some problems in the models’ hair. This was expected, since I see similar problems if I use Photoshop’s Quick Select. This is where it’s time to move to the next mode in SmartMask.
Using Soft Mode For More Intricate Mask Edges
I mentioned above that SmartMask allows me to move up to the next mode if the one I’m using isn’t sufficient. By clicking the Soft mode button, I now have additional definition tools available in the left-side toolbar. The addition of a green pen tool allows definition of a mask’s transition area—the region where going from masked to unmasked is more complex.
Also added are fill tools for each of the three colors. An example use of these would be to fill red into an isolated area that should be masked after that area’s edges are outlined in green.

Broadening the mask transition region with the green pen. (Click to enlarge.)

After applying the updated definitions, I’m getting closer to a good mask. (Click to enlarge.)
Fine-tuning With Complex Mode
Complex mode is where SmartMask is supposed to really show its colors. The premise sounds spot on—define colors to be kept visible and those to be dropped out in the mask.

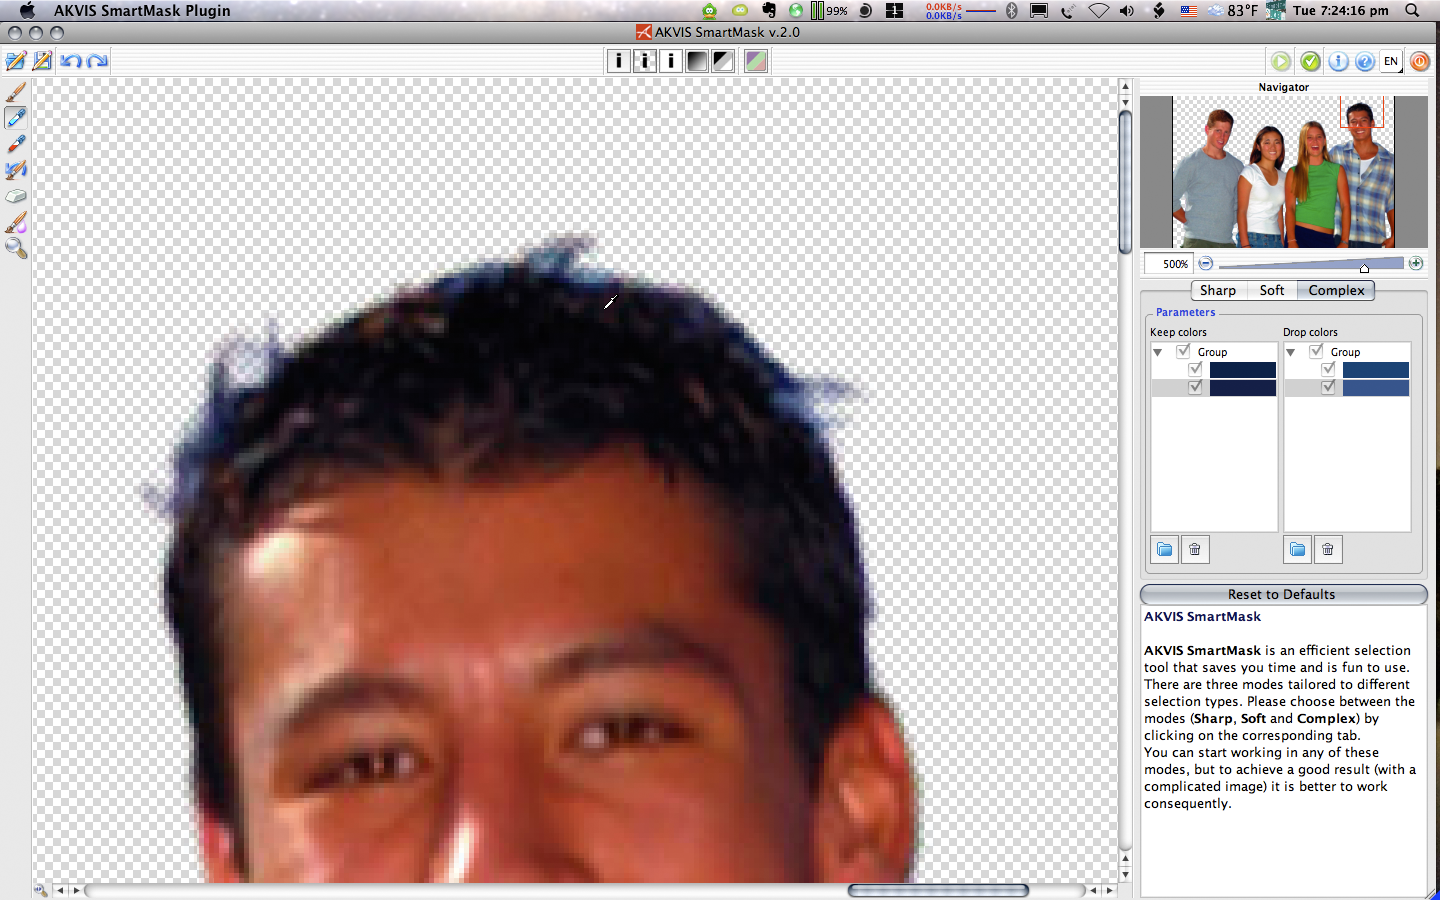
Defining Keep colors and Drop colors in Complex mode. (Click to enlarge.)
The “Complex” moniker is aptly chosen. The control settings in this mode have a somewhat hefty learning curve. The tools now offer eyedroppers instead of pens—blue to specify colors that remain visible and red for colors to be removed. Once this step is done, the Magic Brush is used to clean up the transition area based on the defined colors.
What complicates this procedure is that I often didn’t have the impression that the colors which appeared in the Keep and Drop regions after clicking with an eyedropper really were representative of the color I thought I was clicking. This was especially the case in the second example photo, later in this review.

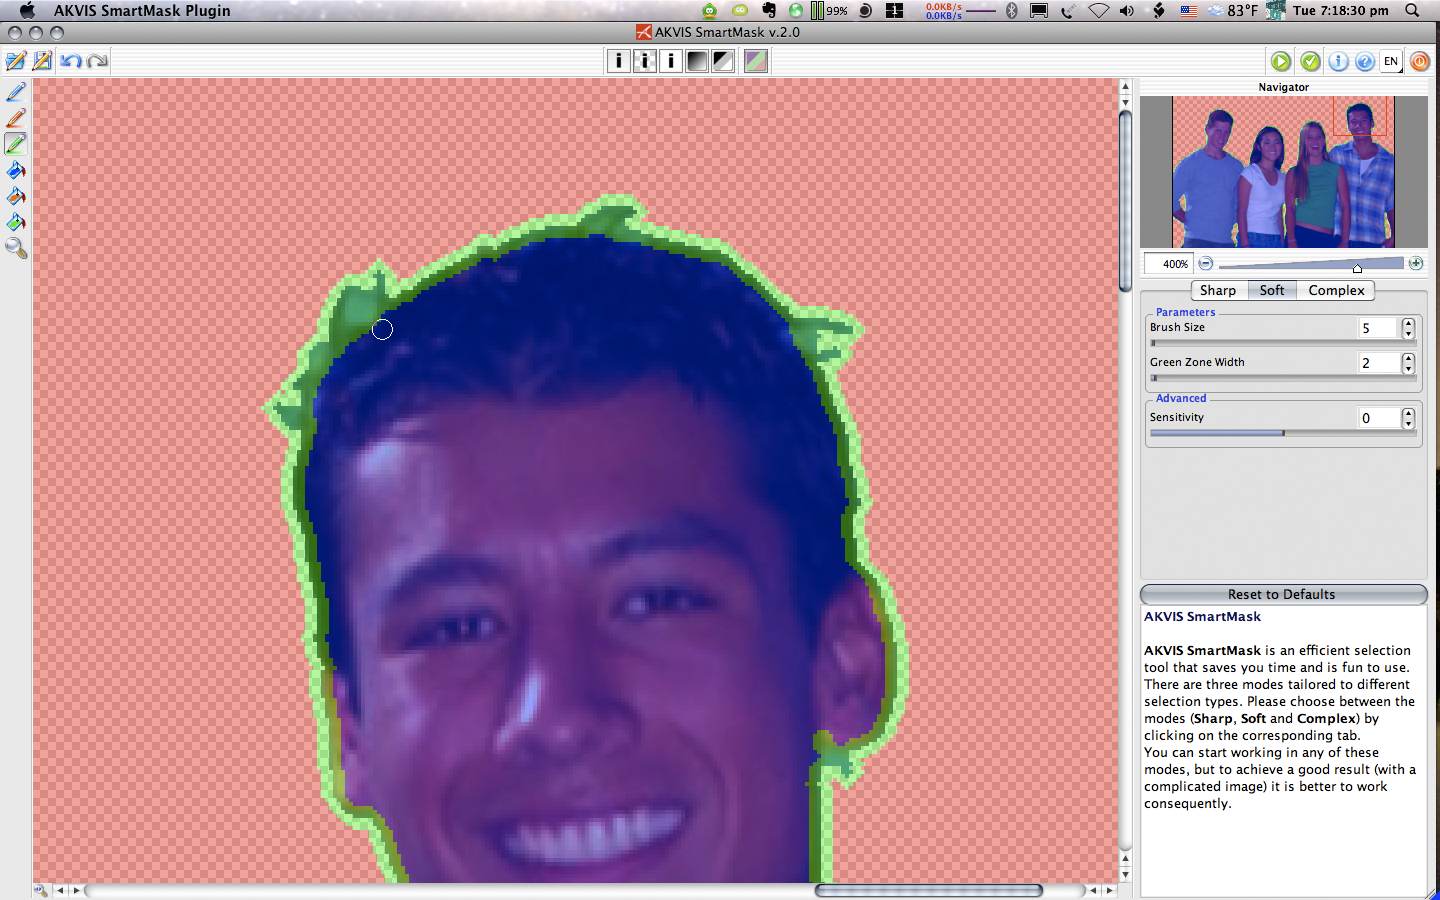
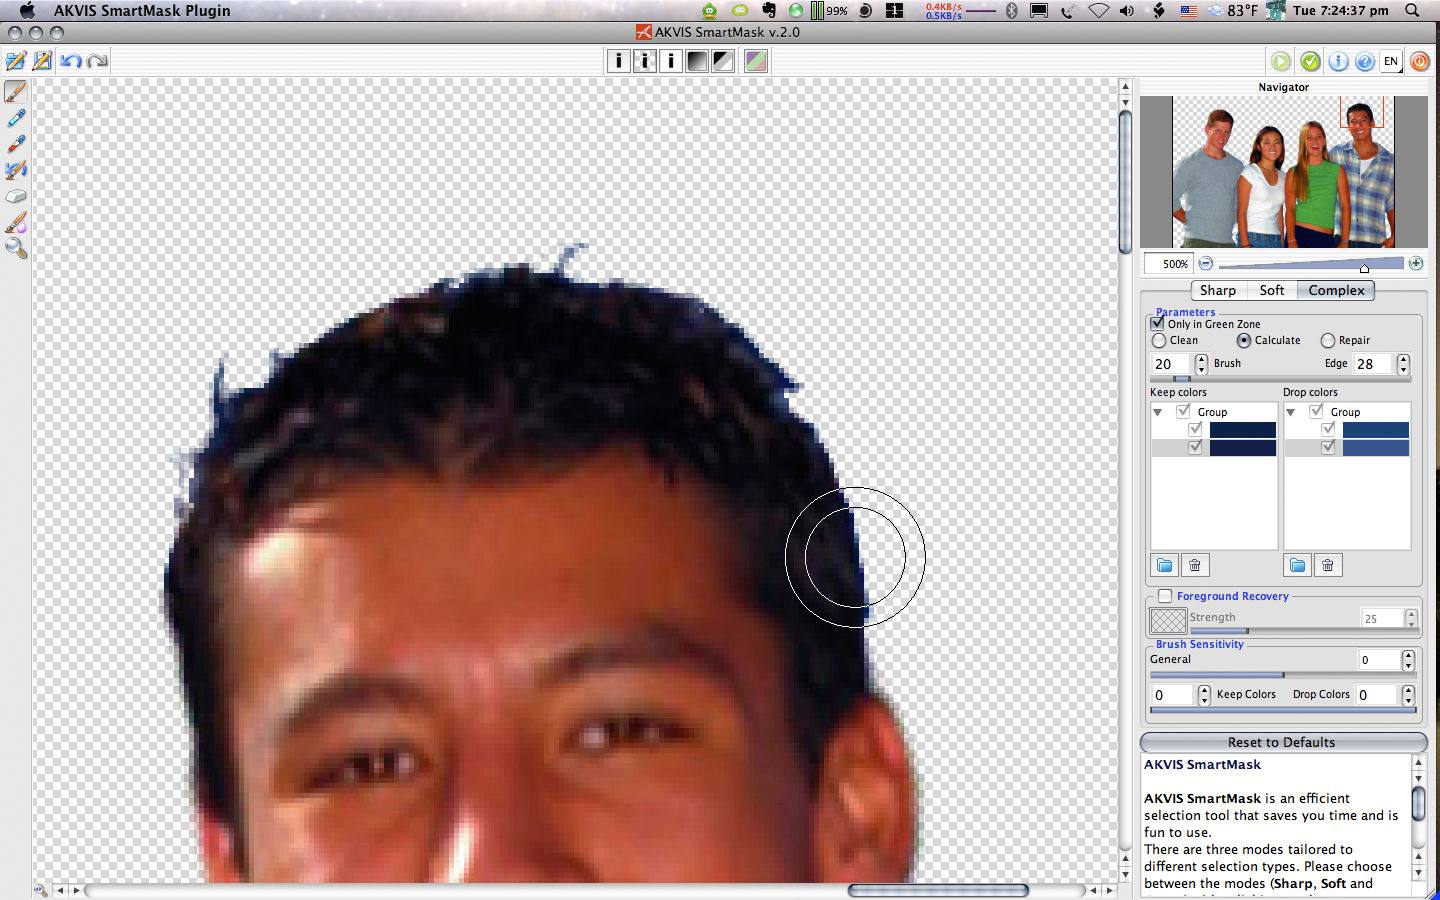
The mask’s edge after using the Magic Brush. Better, but a little bit hard-edged. (Click to enlarge.)
There are tools in Complex mode that can be used to manually erase and restore areas of the photo, along with a a Blur tool. I ran the Blur tool with a low setting across the top of the model’s head and got a result with which I was reasonably satisfied.

A better mask edge after using the Blur tool. (Click to enlarge.)

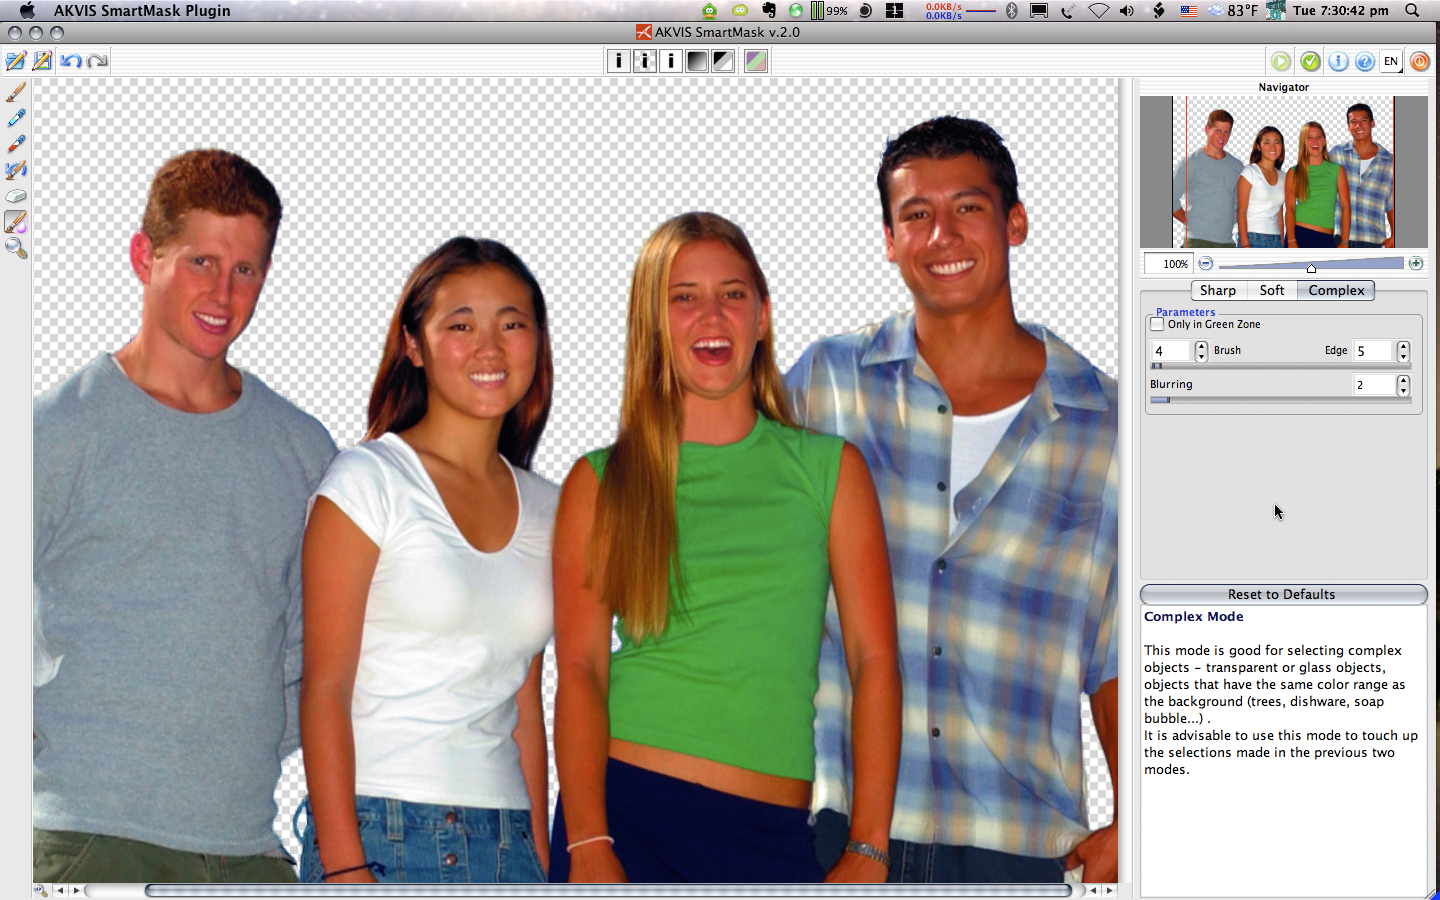
The complete picture after cleanup. (Click to enlarge.)

Replacing the transparent background with some color shows me that the mask holds up rather well. (Click to enlarge.)
Once again, let me emphasize that this first sample photo was practically tailor-made for masking. Any steps for building a mask on it should find this photo an easy challenge.
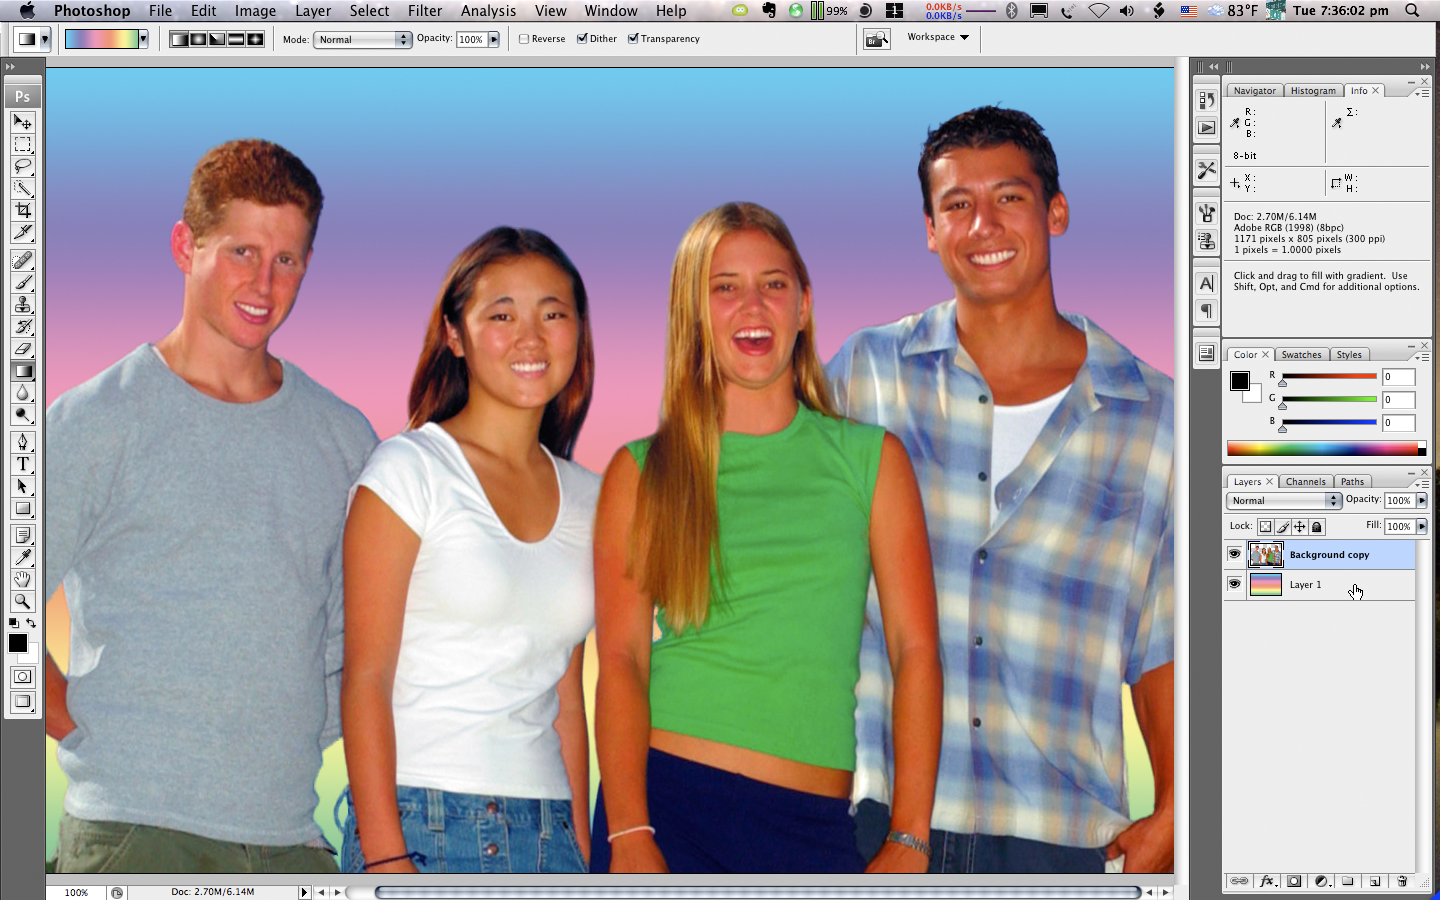
The Missing Mask
Here is where I realized a very significant downside to SmartMask. Looking at the Layers palette in the lower left corner of the figure above, two layers are visible—one that holds the photo and another for the gradient color swash I created to place behind the models. The glaring omission is that the photo layer has no alpha channel applied that represents the mask. After accepting the final result from the SmartMask plug-in, the end result is a layer with the masked area completely erased—not masked. As far as I’m concerned, this makes SmartMask’s name a lie. More accurate would have been to name it SmartErase.
A very small redemption is that SmartMask has a function to save a file that can be loaded in order to revisit the mask work that was done, provided a copy of the unmasked…er, unerased photo is still available upon which the saved mask file can be applied.
Even if SmartMask did apply an alpha channel instead of erasing, the ability to save a file of all the blue, green, and red mask definition areas (which obviously would not be stored in the mask channel) is a nice feature. However, not having an alpha channel as the end result seems preposterous.
Less Stellar Results With Complicated Backgrounds
Naturally, my next task was to give SmartMask a chance to show off when using a photo with a background less conducive to masking.

I could imagine wanting to mask out and replace the background of this photo because the tree stump behind the middle woman’s head is distracting. (Click to enlarge.)
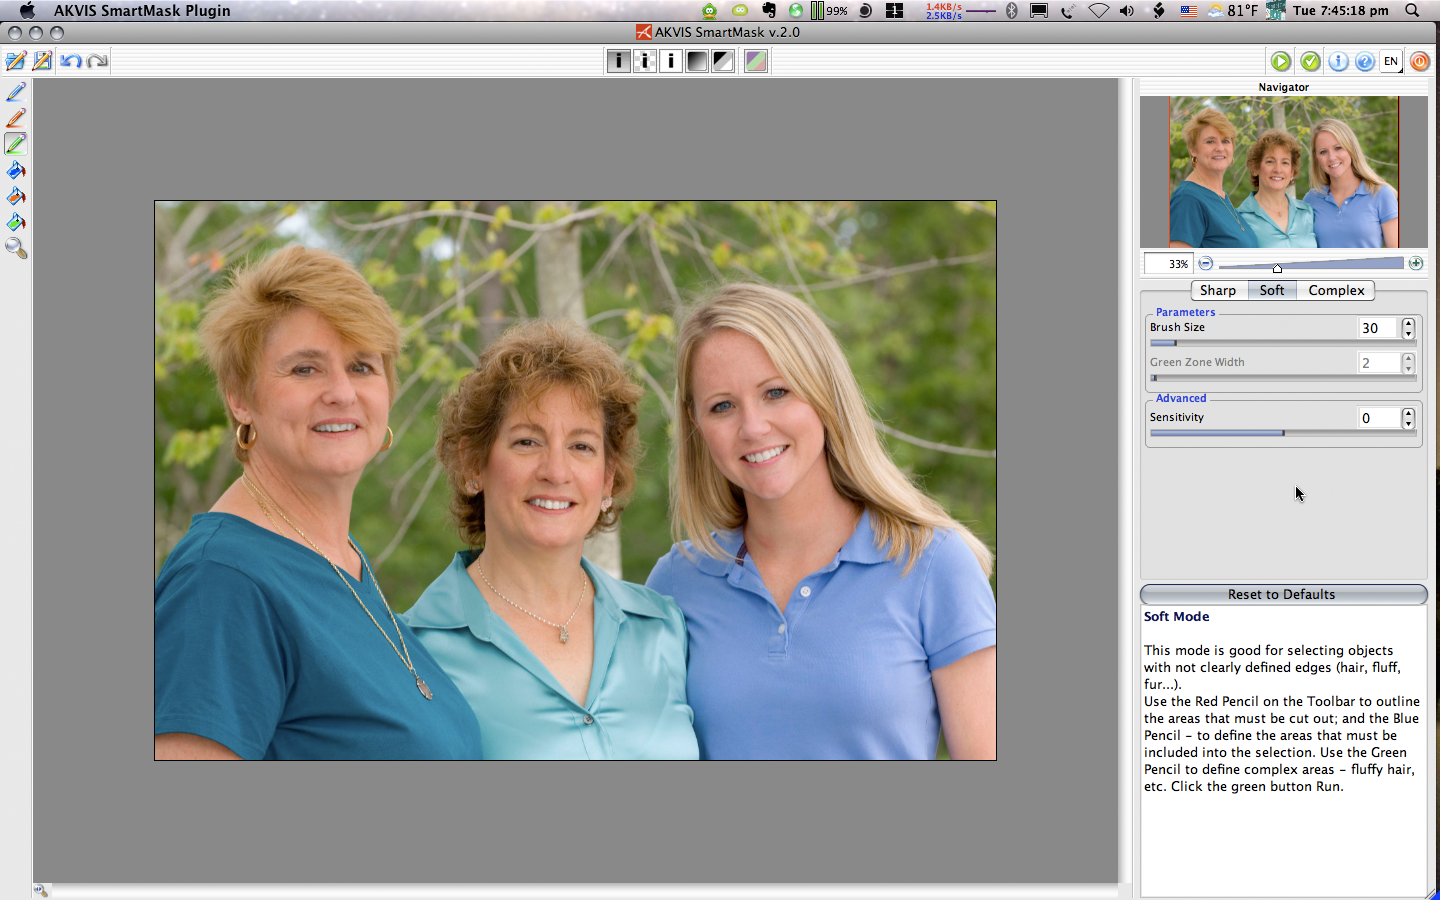
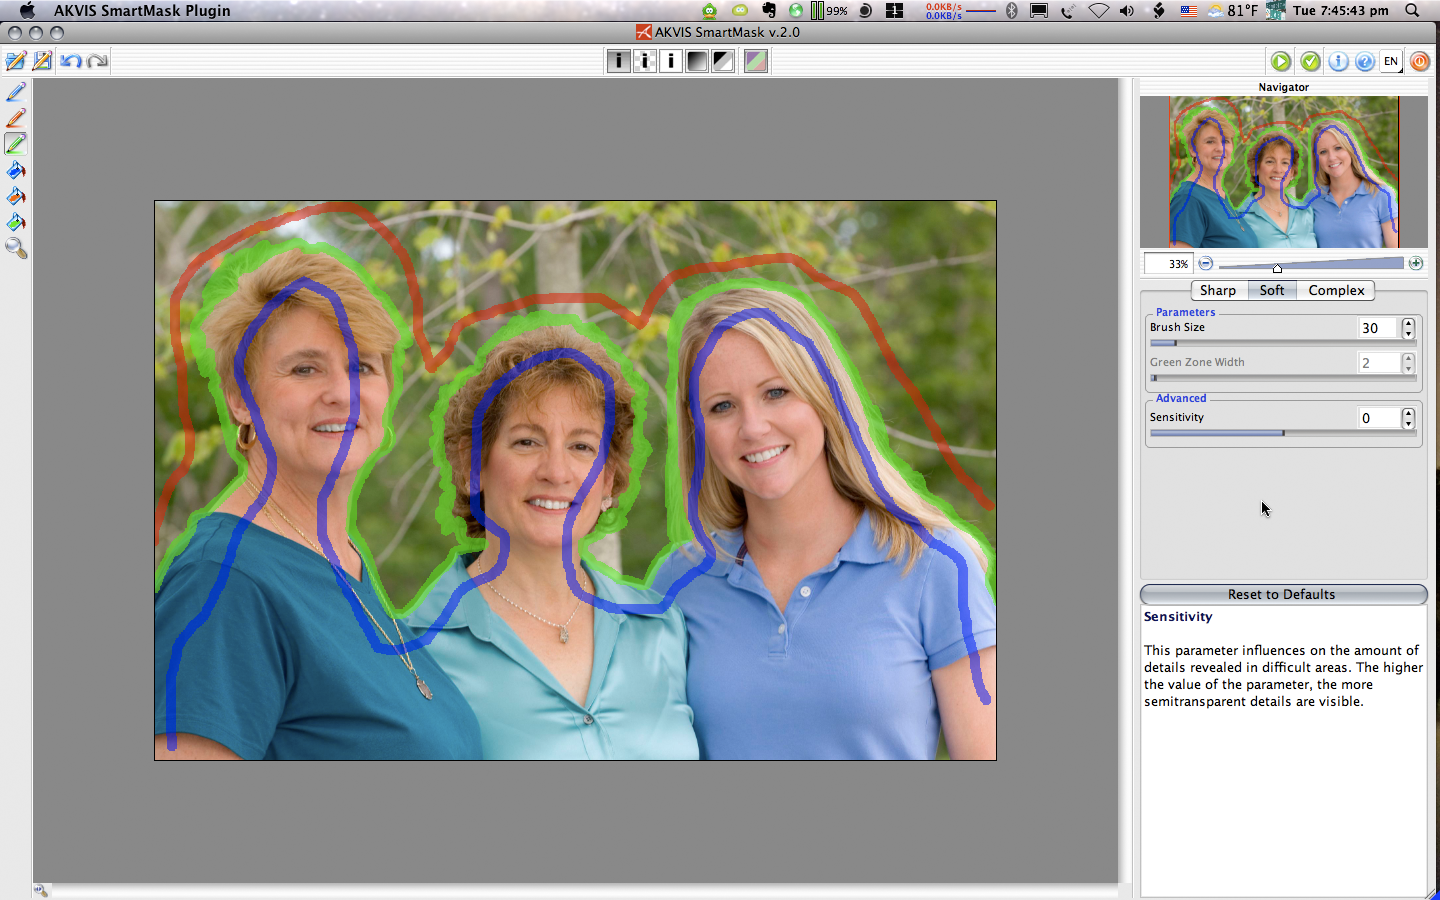
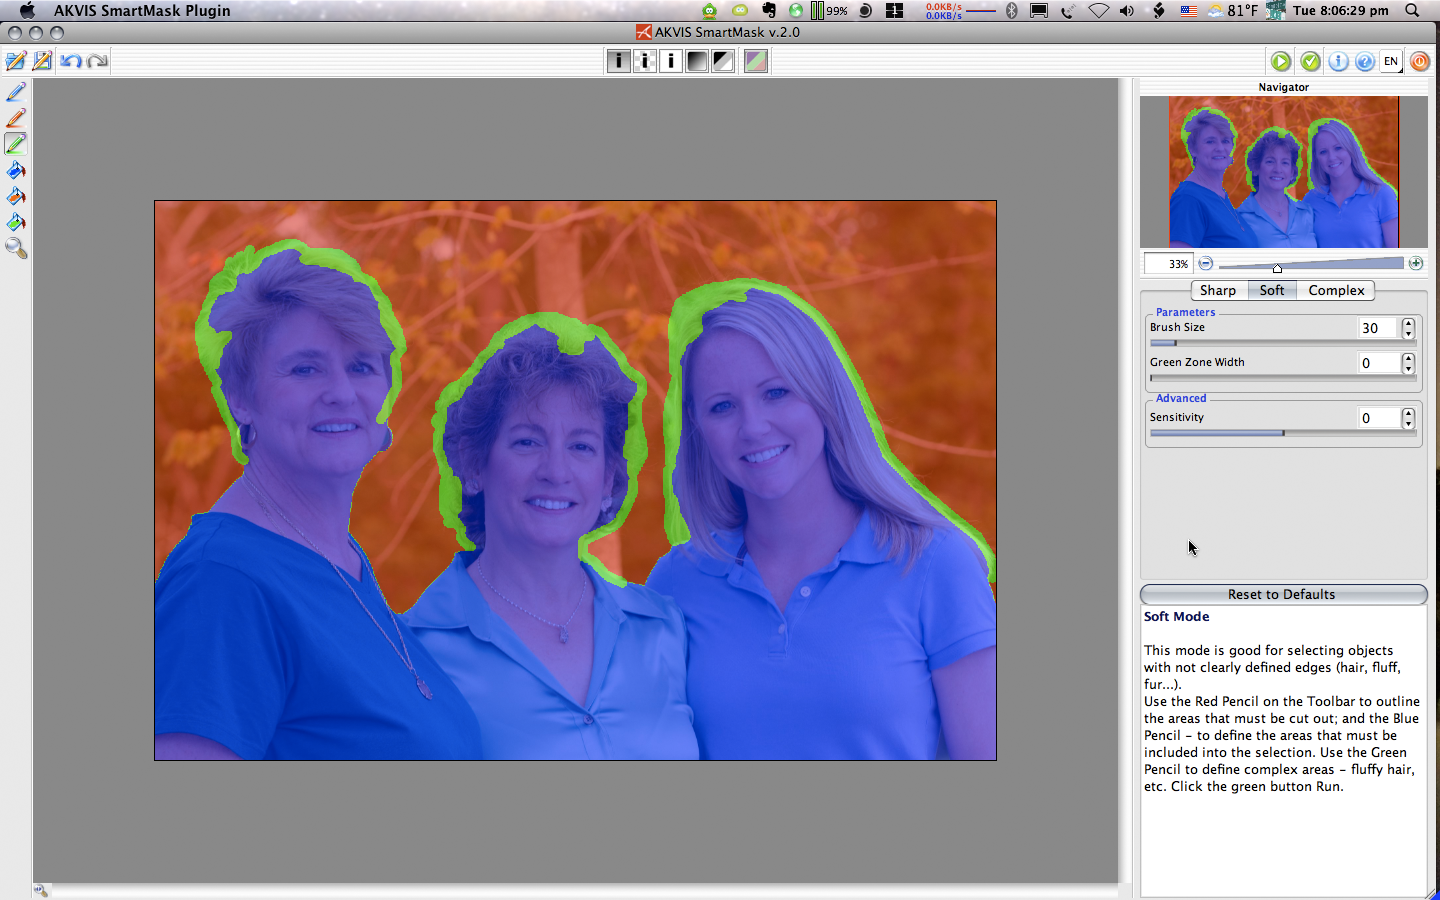
Since I immediately recognized the soft, wispy hair in this photo, my deduction was that I should head straight to SmartMask’s Soft mode. I said above that every mask should start with Sharp mode, and here’s why. I began with the blue and red pen tools, then indicated the mask transition area with the green pen tool.

Same scenario as the first photo, only this time defining the mask transition area with the green pen tool in advance. (Click to enlarge.)
I clicked the button to apply my markup and waited for the result.
And waited.
The progress bar crept across top of the plug-in window for approximately 15 minutes. All the prior adjustments I’ve described up to this point took place in just a few moments. This time, however, something was requiring a lot of CPU time. I’m working on a 2.2 GHz MacBook Pro, so an inadequate processor wasn’t a factor.
Once the mask preview was complete, my hopes for redemption of the “Smart” part of SmartMask’s name were crushed.

I don’t even know what to say about this! (Click to enlarge.)
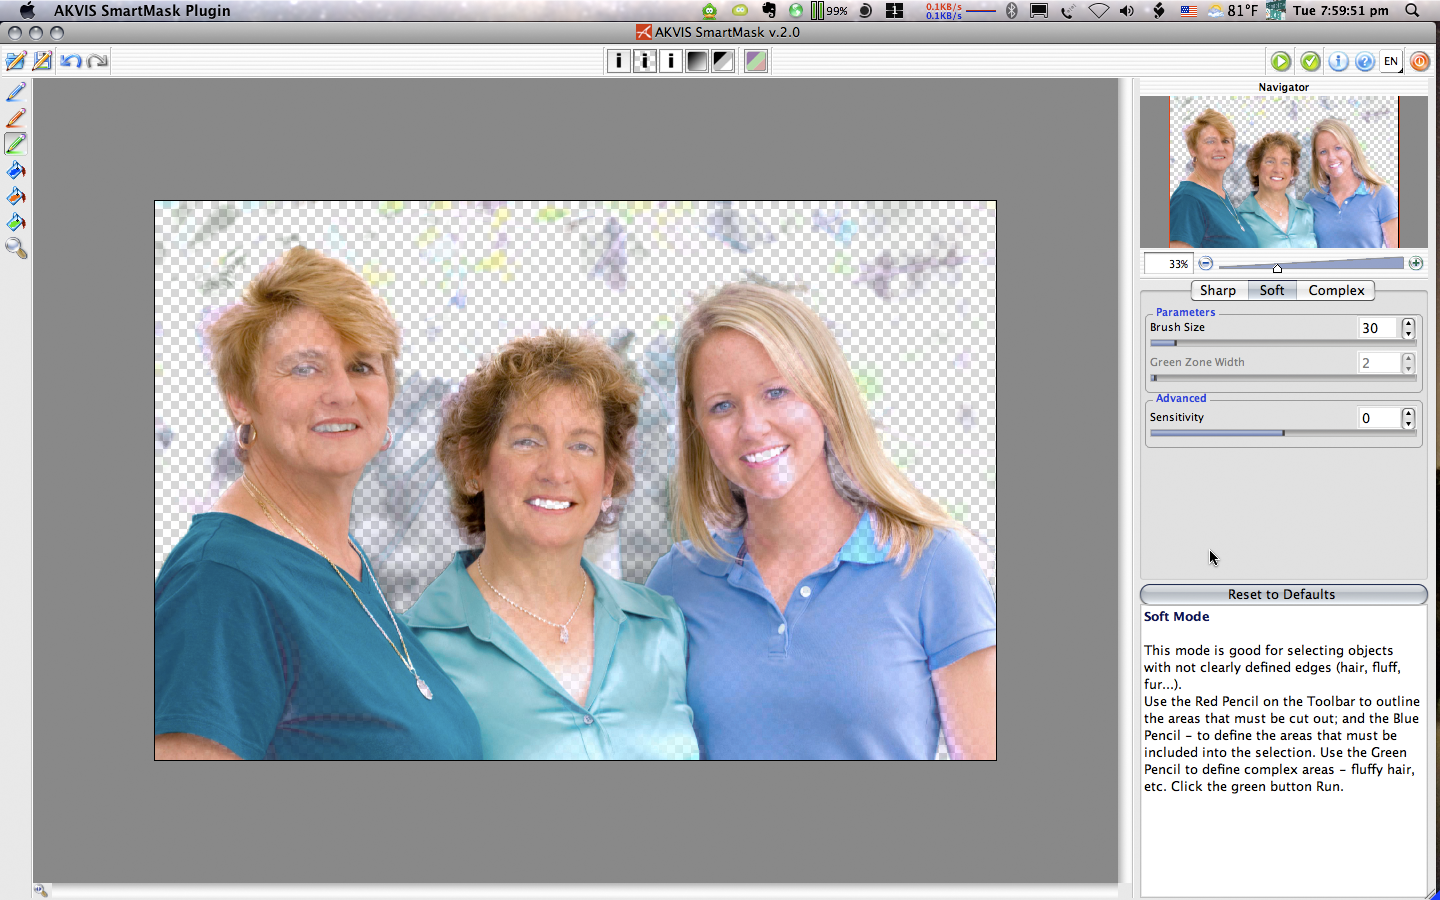
After a hasty Undo, I was back to the Sharp mode to get started on this photo all over again. As with the first photo, I set up simple definitions with the blue and red pen tools alone.

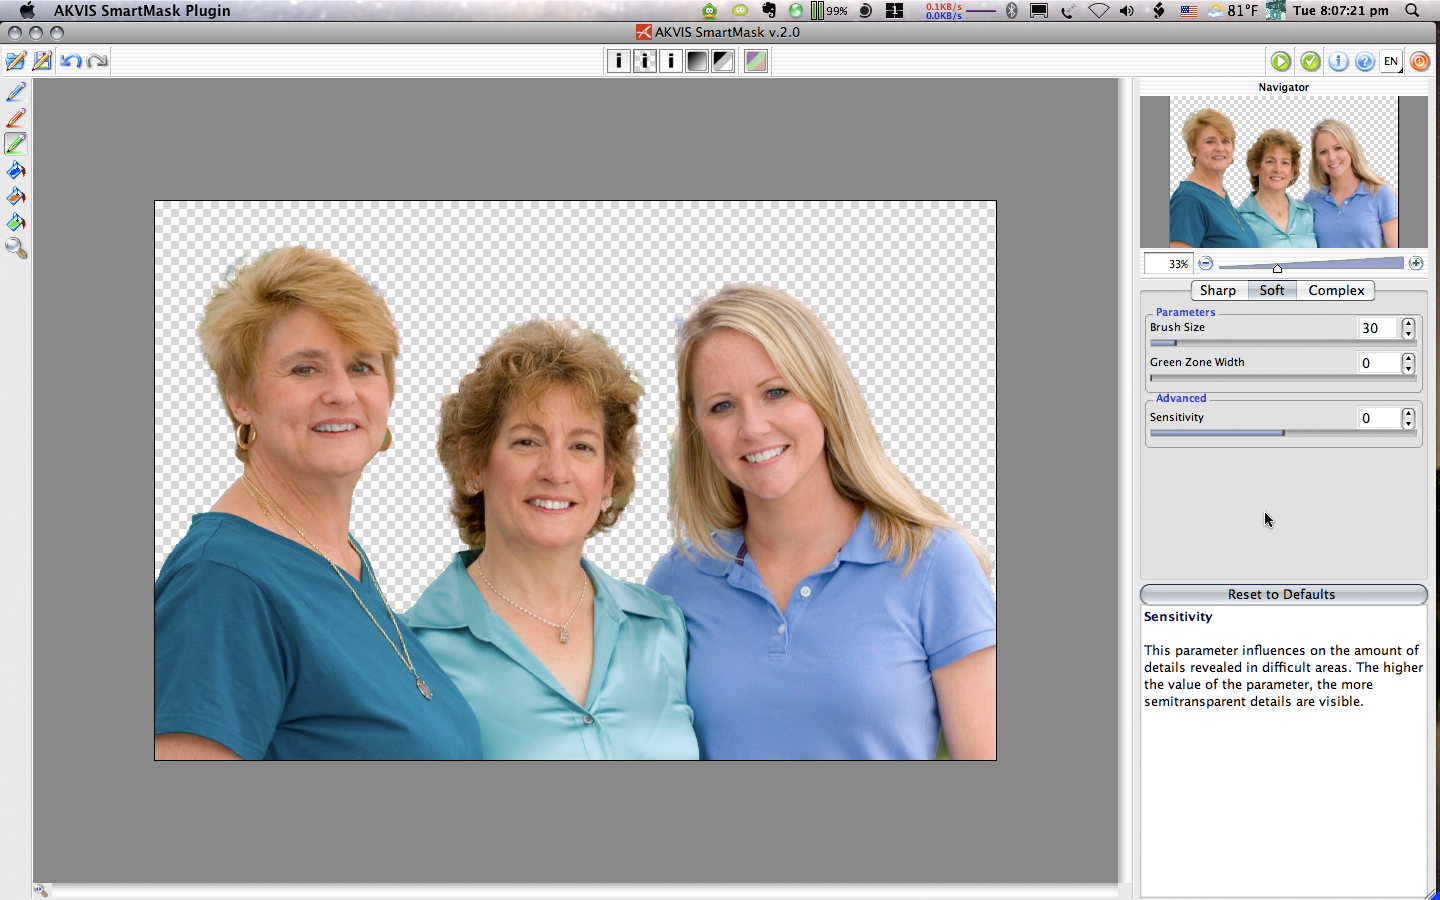
Initial result of the second try on this sample photo. (Click to enlarge.)
The above result is essentially what I expected, which is why I thought I could save time by just starting in Soft mode.

Defining transition areas, this time at the correct point in the sequence. (Click to enlarge.)
Once my brain accepted the need to always start in Sharp mode, I felt confident that using the green pen tool would do well at figuring out which areas were trees in the background and which areas were hair.

Take two of Soft mode’s mask preview. (Click to enlarge.)
In spite of obvious areas in need of work, I considered the above result to be pretty good. So, as with the first photo, it was time to break out the Keep and Drop color function in Complex mode to put the final touches on this mask.
Deciphering Complex Mode
This particular review was being a bear for me to complete. Here’s why: I experimented, tinkered, twiddled, adjusted, revisited, ad nauseam, for several hours on four different evenings to become proficient at using SmartMask’s Magic Brush function. Here’s the best I could produce:
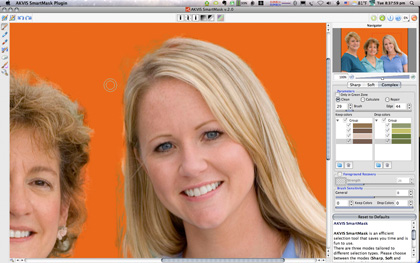
Where, oh where, is the edge of your hair? (Click to enlarge.)
In this figure, I enabled the Color Background mode that shows the areas to be masked. It reveals the problem that I could not escape in trying to define the edge of the model’s hair. I tried using only a few Keep and Drop colors in the lists (visible to the right), and I tried a dozen or more. I tried all manner of Brush and Edge sizes and other settings available in the plug-in—some as educated guesses for results, others as random attempts.
Try as I might, the SmartMask results demonstrated in the samples on AKVIS’ Web site were out of my reach. Perhaps more than just several hours of training and experimentation can lead to acceptable results, but I hoped that nice masks on complex photos were attainable with less effort.
Summary
Even if I somehow failed to grasp key tidbits for using SmartMask’s Complex tools mode to greater success, it’s still unfortunate that, at a $120 price point, developers couldn’t be bothered to build a true Macintosh application, choosing instead (I speculate) to port the Windows version to Macintosh like an afterthought. More unfortunate is that SmartMask does not take advantage of a significant strength in Photoshop by applying the the finished work into an alpha channel.
AKVIS SmartMask is a usable tool for a Photoshop arsenal, but I intend to keep looking at other mask creation plug-ins to learn what other workflows are possible.
![]() Copyright © 2008 Lee Bennett, lbennett@atpm.com. Reviewing in ATPM is
open to anyone. If you’re interested, write to us at reviews@atpm.com.
Copyright © 2008 Lee Bennett, lbennett@atpm.com. Reviewing in ATPM is
open to anyone. If you’re interested, write to us at reviews@atpm.com.
Reader Comments (0)
Add A Comment